
How to Build a Fire Pit in the Ground While Back Country Camping

Building a fire pit in the ground can be a rewarding DIY project that enhances your backcountry camping experience. Not only does it provide warmth and a place for cooking, but it also becomes the heart of your campsite where memories are made.
If you’re looking to create your own in-ground camping fire pit, this comprehensive guide will walk you through the process step by step.
Key Takeaways:
Learn the essential steps to safely and efficiently build an in-ground fire pit while backcountry camping.
Understand the importance of choosing the right location and materials for your fire pit to ensure safety and durability.
Discover practical tips and techniques to maintain your fire pit and adhere to environmental guidelines.
Choosing the Perfect Location
When you’re backcountry camping, the first step in how to build a fire pit in the ground is selecting the right spot. Look for a flat, open space away from trees, bushes, and other flammable materials. The location should be sheltered from the wind to minimize smoke and ensure a steady burn. Use marking paint to outline the perimeter of your new fire pit, keeping in mind the size and shape you desire.
Gathering Your Materials
Before you start digging, gather all the necessary materials. You’ll need a shovel for excavation, stones or pavers for the walls, and sand or gravel for the bottom layer. If you’re planning a more elaborate design, fire bricks and a fire pit ring can provide additional structure and safety. River rocks and lava rocks are more options for the outside edge, but be cautious as they can sometimes crack under high heat.
Digging the Pit
With your site marked, it’s time to start digging. The hole should be deep enough to contain the fire and prevent it from spreading. Aim for a depth of about 6 to 12 inches, depending on the size of your fire. The diameter of the pit should be large enough to accommodate the wood you’ll be burning but not so large that it’s difficult to manage.
Laying the First Layer
Once the hole is dug, fill the bottom with a layer of sand or gravel. This layer aids in drainage and air circulation, which are crucial for a well-functioning fire pit. The depth of this layer should be around 2 to 4 inches. Tamp it down to create a flat and stable base for the stones or bricks that will form the walls of your pit.
Building the Walls
For the walls of your in-ground fire pit, you can use regular bricks, concrete blocks, or natural stones. Start by laying the first layer of your chosen material around the perimeter of the hole. If you’re using bricks or blocks, consider using construction adhesive or mortar to secure them in place. Use a rubber mallet to ensure each piece is flat and level.
Creating a Fire Pit Design Plan
When you’re ready to build an in-ground fire pit, it’s crucial to start with a solid fire pit design plan. Before you dig into the dirt with your tools, take a moment to sketch out your vision. Consider the size and shape that will best fit your space and needs. Will it be a circular pit or a square one? How deep will it be? These are the three things to develop in your plan. A well-thought-out design will save you time and effort in the long run. If you’re looking for inspiration, a quick search on YouTube can yield a plethora of DIY fire pit tutorials.
In your design, also think about the materials you’ll use for the second layer and beyond. Stone is a popular choice for its durability and aesthetic appeal, but there are other options like brick or fire-rated blocks. Remember, the materials you choose will not only influence the look of your fire pit but also its functionality and safety. Line your design with considerations for drainage and airflow to ensure your burning wood remains a source of light and warmth, not a hazard.
Preparing the Ground for Your In-Ground Camping Fire Pit
When you’re ready to build an in-ground fire pit, the first step is to prepare the ground. This means selecting a spot that’s not only picturesque but also practical. Look for a level area away from overhanging branches or structures that could catch fire. Once you’ve found the perfect spot, it’s time to lay the groundwork—literally. Remove any grass, stones, or debris from the area to create a clean, bare surface. This will help in preventing unwanted fires and ensure that your fire pit has a solid foundation.
The next phase of preparation involves marking out the exact dimensions of your fire pit. You can use a stick and string to draw a circle or any shape you desire. Once the perimeter is marked, it’s crucial to dig a few inches into the soil to lay the base of your fire pit. This will help in containing the fire and make it easier to manage. Remember, the goal is to create a safe and enjoyable back country camping experience, so take your time to do this step right.
Utilizing Local Stone for Aesthetic and Function
When you’re looking to build an in-ground fire pit that not only serves its purpose but also blends seamlessly with the natural surroundings, consider using local stone. Not only does it enhance the visual appeal, but it also supports the local ecosystem. Imagine sitting around your fire pit, the flames dancing off the unique textures and colors of stones that seem like they’ve always been a part of the landscape. It’s not just about aesthetics; local stone can withstand the high temperatures of your fire pit, ensuring durability and safety.
Moreover, sourcing stone from the nearby area reduces the environmental impact associated with transportation. It’s a win-win: you get a fire pit that’s both beautiful and eco-friendly. When you build an in ground fire pit with local materials, you’re also creating a story—a connection to the place where you’re camping. Each stone becomes a testament to the adventure and the land itself. So next time you’re gathering materials, take a moment to explore the area. You might just find the perfect stones to make your fire pit truly one of a kind.
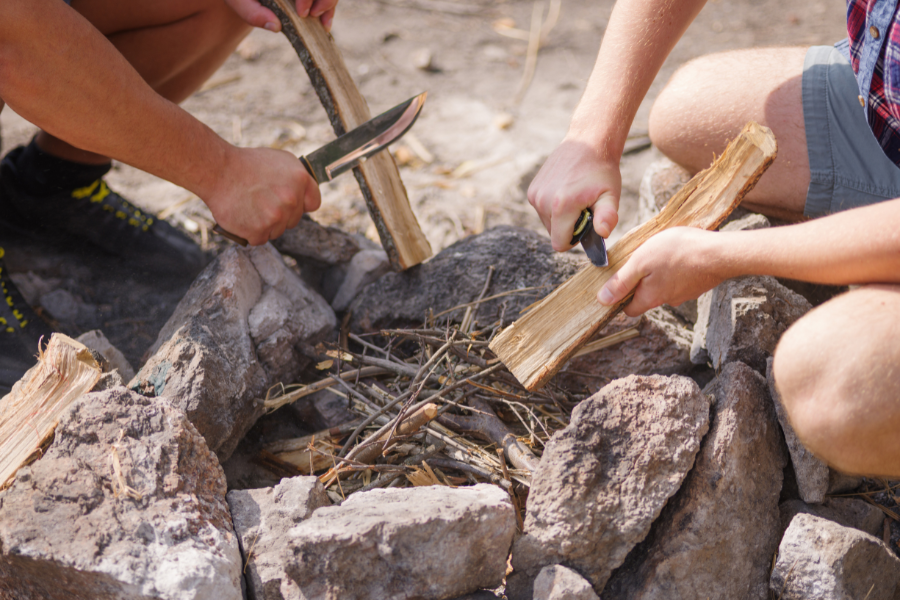
Selecting the Right Fuel for Your In-Ground Fire Pit
Choosing the right fuel is crucial when you’re ready to enjoy the warmth of your in-ground fire pit. You want something that burns clean, is easy to ignite, and provides a steady flame. Hardwoods like oak, maple, and birch are excellent choices. They burn longer and hotter, making them ideal for a night under the stars. Plus, the aroma of burning hardwood adds an extra layer of ambiance to your backcountry campsite. Imagine the crackling sound as the fire consumes the wood, the smell of nature in the air, and the warmth enveloping you—a perfect camping experience.
But remember, it’s not just about picking the right wood; it’s also about how you use it. To build an in-ground camping fire pit that’s efficient, start with smaller kindling and gradually add larger pieces of wood. This method ensures a fire that lights quickly and burns sustainably. And always be mindful of the environment—use fallen wood when available and avoid cutting live trees. By being a responsible camper, you ensure that the beauty of the wilderness remains for others to enjoy.
Incorporating Drainage Solutions for Longevity
An often-overlooked aspect of building an in-ground fire pit is incorporating drainage. Proper drainage ensures that your fire pit remains usable even after a downpour and extends its longevity. To lay the groundwork for effective drainage, consider sloping the base of the pit slightly. This will allow water to run off rather than pooling at the bottom. Additionally, you can add a layer of gravel before laying your first layer of stones or bricks. This not only aids in drainage but also provides a sturdy base for your fire pit.
For those who want to go the extra mile, installing a drainage pipe at the base of your fire pit is a great option. This pipe can lead water away from the fire pit and prevent erosion or waterlogging. Keep in mind that the pipe should be heat-resistant and placed where it won’t be directly exposed to flames. By thinking ahead and incorporating these drainage solutions, you’ll ensure that your in-ground fire pit remains a focal point of your back-country camping adventures for years to come.
Incorporating a Second Layer for Durability
Adding a second layer to your in-ground fire pit is a step that should not be overlooked. This layer serves as an extra shield between the burning wood and the surrounding earth, enhancing the pit’s durability and safety. When you build an in-ground fire pit, think about using materials that can withstand high temperatures and are less likely to crack or deteriorate over time. Fire bricks or a layer of sand can serve as a good buffer, protecting the bottom of the pit from intense heat.
Moreover, the second layer can also improve the overall airflow within the fire pit, which is essential for maintaining a steady burn. As you develop your DIY fire pit, consider how the arrangement of stones or bricks in the second layer can influence air circulation. Some designs incorporate gaps or vents within this layer to draw in more air, feeding the fire and keeping smoke to a minimum. Always remember, more tips and advice on creating an effective second layer can be found through online resources or local services specializing in backyard fire pit construction.
Adding More Layers
Continue to build up the walls by adding more layers of bricks or stones. Each layer should be staggered over the joints of the one below it to increase stability. If you’re using a fire pit ring, insert it into the pit to act as a guide for your walls. Keep the walls at a reasonable height to contain the fire while still allowing for good air circulation.
Enhancing Your Camping Fire Pit Area
Once your fire pit is constructed, you can enhance the surrounding area with outdoor furniture, creating a cozy and inviting space. Ensure that all furniture is fire-resistant and placed at a safe distance from the pit. You can also add a circle of gravel or pavers around the outside edge of the pit to define the space and prevent the spread of fire.
Safety Considerations
Safety should be your top priority when building and using your fire pit. Always have a fire extinguisher or bucket of water nearby in case of emergencies. Never leave the fire unattended, and make sure it’s completely extinguished before leaving the site. Check local regulations and fire bans before lighting any fire in the backcountry.
Maintaining Your Camping Fire Pit
Regular maintenance will keep your fire pit safe and functional for years to come. Remove ash and debris after each use, and inspect the walls for any cracks or damage. If you used mortar in your construction, check the joints and repair them as needed. Covering your fire pit when not in use can protect it from the elements and prolong its life.
Adhering to Environmental Guidelines
When camping in the backcountry, it’s essential to follow Leave No Trace principles. This means minimizing your impact on the environment by using existing fire rings when available and restoring the site to its natural state when you leave. If you build a new fire pit, dismantle it and scatter the materials before departing.
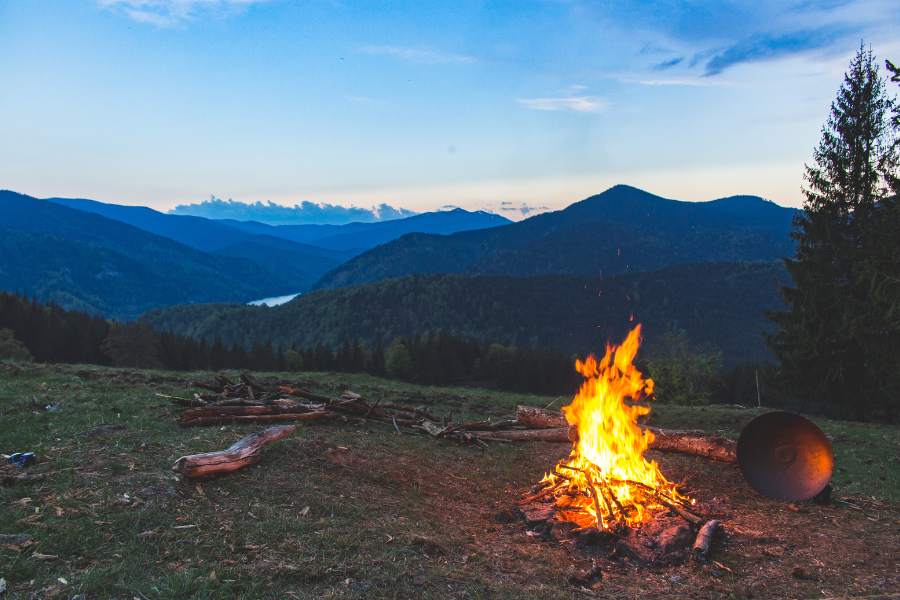
Summary
Building an in-ground fire pit while backcountry camping can greatly enhance your outdoor experience. By following the steps outlined in this guide, you can create a safe and durable fire pit that will serve as the centerpiece of your campsite. Remember to choose the right location, use appropriate materials, and prioritize safety at all times. With a little effort and attention to detail, you’ll be enjoying the warm glow of your own fire pit under the stars.
FAQ Section
Q: What is the best material to use for the walls of an in-ground fire pit? A: The best materials for the walls of an in-ground fire pit are fire bricks, concrete blocks, or natural stones. These materials are durable and can withstand the high heat of a fire. Regular bricks may crack under high heat, so they are not recommended unless they are specifically designed to be fire-resistant.
Q: How deep should an in-ground fire pit be? A: An in-ground fire pit should be about 6 to 12 inches deep. This depth helps contain the fire and prevent it from spreading, while still allowing for proper air circulation.
Q: How do I ensure my fire pit is environmentally friendly? A: To ensure your fire pit is environmentally friendly, follow Leave No Trace principles. Use existing fire rings when possible, avoid damaging vegetation, and dismantle any new fire pits you build before leaving the area. Always check for fire bans and regulations in the area where you are camping.


Comments are closed.